

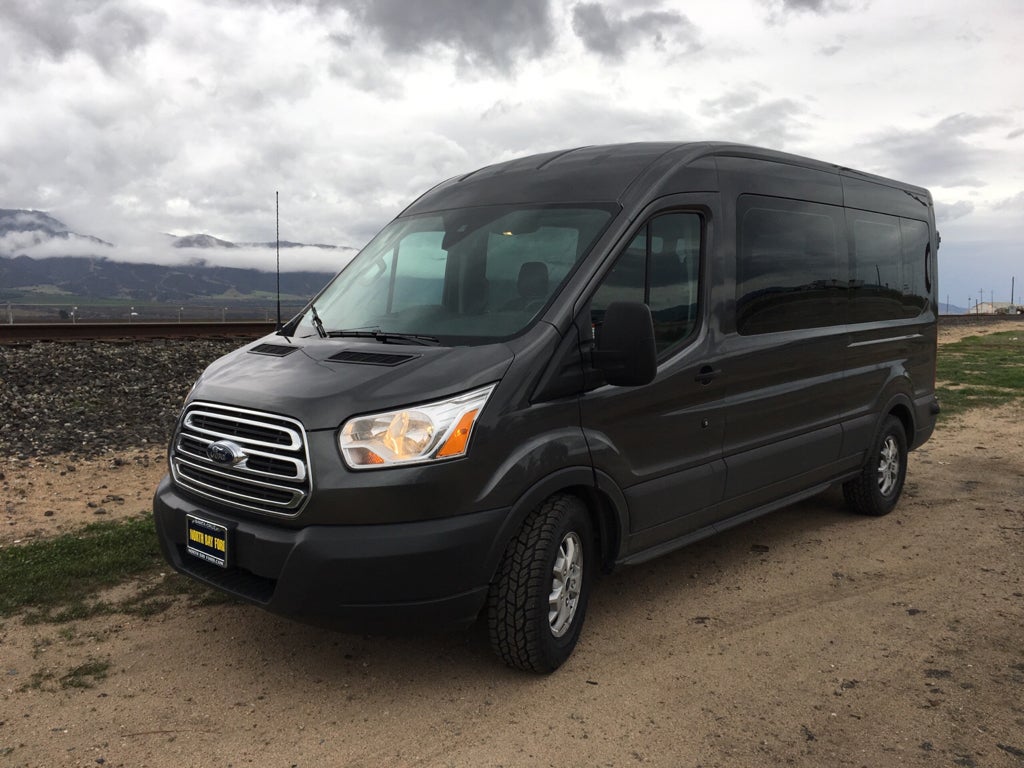
We received our 2016 Transit 350 XLT wagon on 12/13/16 and this thread will track our buildout. Going to haul our family of 3 (maybe 4) and serve as a place to camp and haul bikes/surfboards.
As received:
![Image]()
First thing we did was window tint. Went with 18% which is close to factory privacy glass. We might go get darker film on the rear doors and back windows or just make window shades.
![Image]()
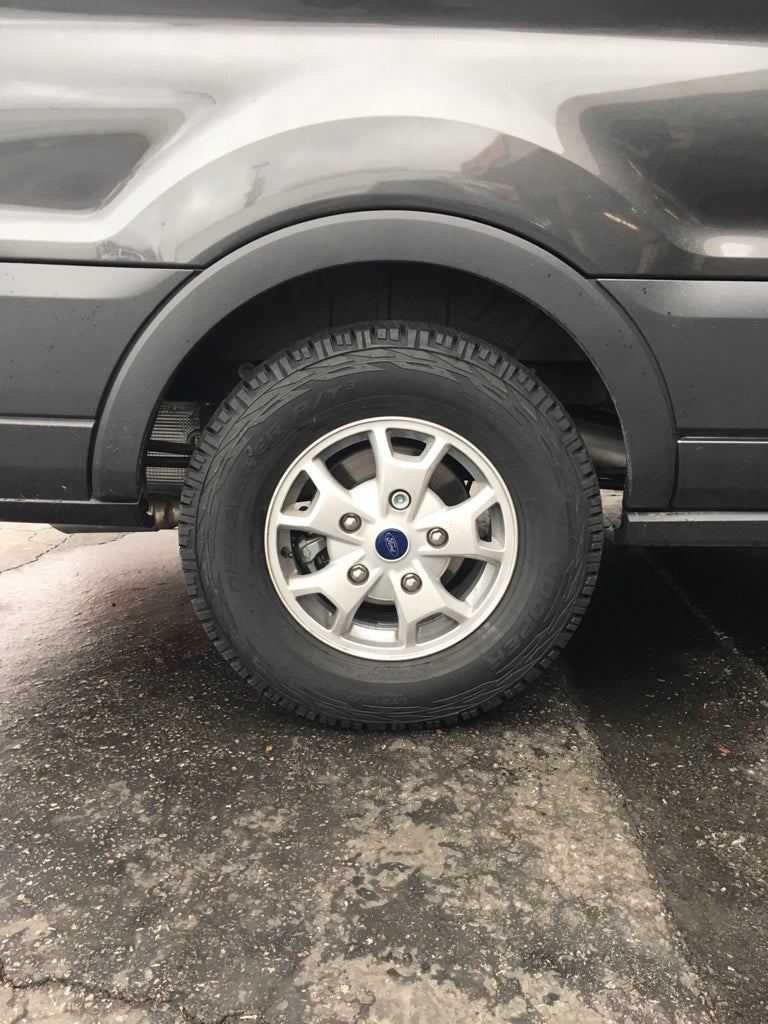
Next was installing Cooper AT3 245/70/R16 and leaving on our first trip. Put 500 miles on it in the first couple days.
![Image]()
![Image]()
Sent from my iPhone using Tapatalk
As received:

First thing we did was window tint. Went with 18% which is close to factory privacy glass. We might go get darker film on the rear doors and back windows or just make window shades.

Next was installing Cooper AT3 245/70/R16 and leaving on our first trip. Put 500 miles on it in the first couple days.
Sent from my iPhone using Tapatalk


